How to Cut Vinyl Siding ...
- Mon to Fri: 09:00 am to 07:00 pm
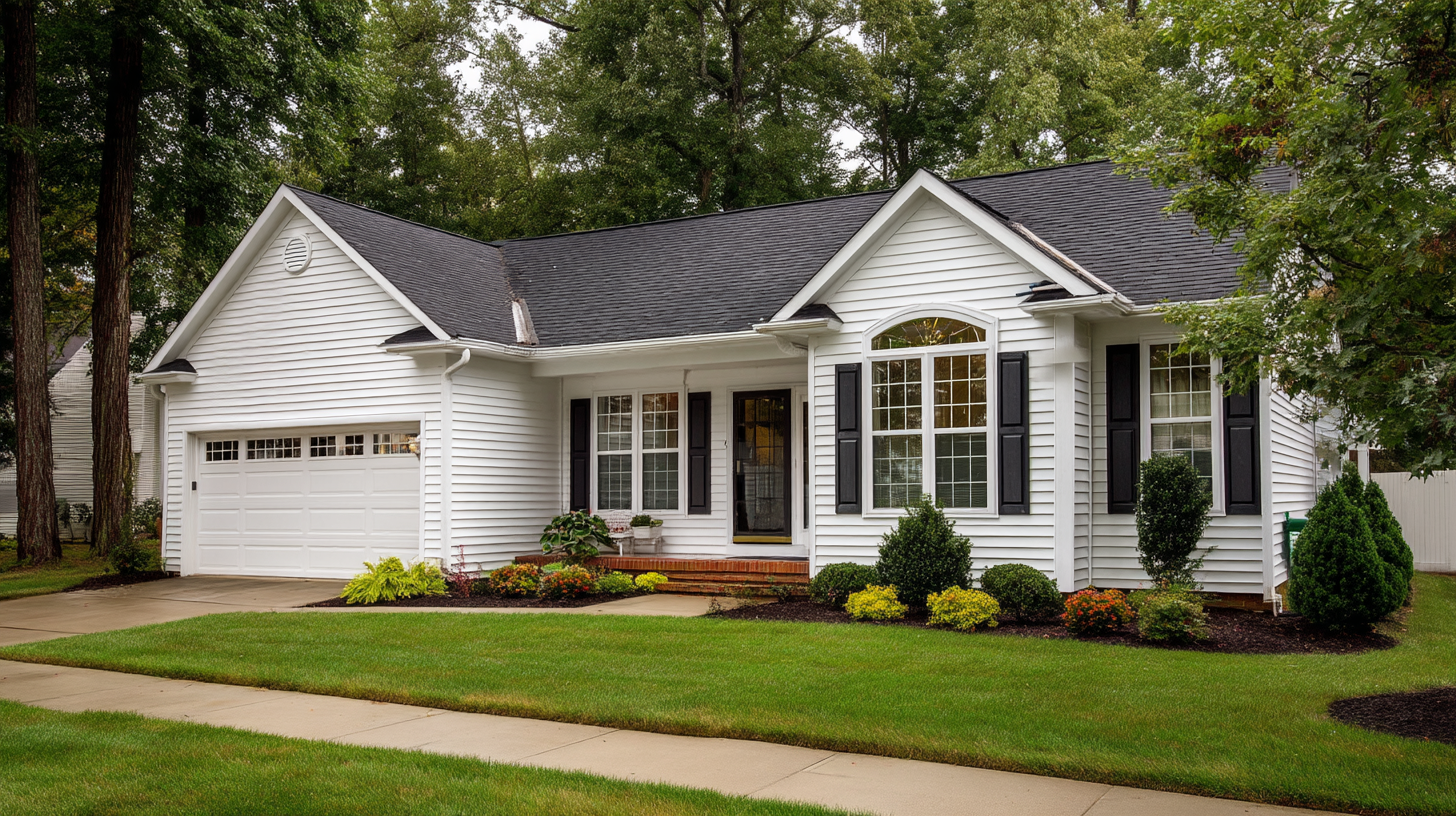
If you’ve ever wondered how to hang vinyl siding properly, you’re in the right place. Whether you’re tackling a DIY project or evaluating contractor work, knowing the correct steps ensures your investment lasts for decades. In this guide, we cover everything from the basics of vinyl siding installation to the finer details you might see on a professional job. Expect to see terms like starter strip, corner post, j channel, nails, roofing nails, screws, nailing hem, and more. We’ll also explain how local building codes affect your work and how to manage tricky spots like the upper portion of walls and around windows and doors.
You’ll walk away confident enough to properly prep, measure, cut, and install siding, or to supervise someone else doing it. We also cover common pitfalls, over‑tight nails, skipping furring strips, or ignoring manufacturer’s instructions.
A well‑executed vinyl siding installation does more than look good. It protects your exterior wall, keeps moisture out, helps with insulation, and preserves warranty coverage. Poor installation invites water intrusion, buckling, and early failure.
Every siding contractor, and even new construction oversight, depends on applying house wrap or WRB, flashing around other openings like windows and doors, and carefully fastening panels. Skipping or mistreating any step can void the warranty or violate local building codes.
This guide is your reference for doing it right, or assessing when it’s time to call a pro.

Before you begin, gather quality tools and materials. Using the wrong saw blade or overdriving a nail head can lead to serious problems later.

First, remove any old siding and inspect the sheathing. Replace any rotten boards or loose boards. Install a quality house wrap per the manufacturer’s instructions, and apply flashing at transitions and joints. Use furring strips if the wall isn’t flat, so your siding won’t distort. Make sure everything is level and straight. You must comply with local building codes here.
The starter strip anchors the first row of siding panels. Snap a level chalk line to guide the bottom edge. The starter strip should be placed so the lower portion of your panels will lock in properly. Fasten it loosely, with nails or screws in the center of the slots, never nails tight. Leave a small gap so the nail head doesn’t pinch the siding.
Install your corner post pieces first so siding will lock into them neatly. Attach both inside corner posts and outside corner posts. Leave about ¼” of gap so the siding can permit expansion. Secure loosely, placing fasteners in the center of clamps or slots.
Next, install j channel around windows, doors, soffits, eaves, and other edges. Leave space for expansion and ensure the top edge of siding can slide into the channel later.
Begin by locking the first panel into your starter strip. Then drive siding nails or screws through the nailing hem into your sheathing or substrate. Use the proper angle (generally square) and place fasteners in the center of slots. Don’t overdrive them. The panel should be able to shift sideways when tapped lightly. Work horizontally across the wall until you reach the next corner.

When working on higher courses, maintain consistent alignment and use a chalk line for each row. Insert panels the same way, lock first, then attach. As you go up, pay attention to upper portion areas above windows and doors. You will often need to cut panels shorter, use utility knife or tin snips to trim, and insert into the upper slot in the j channel. Leave expansion space at edges and joints.
For cutting vinyl siding, use a utility knife or tin snips for small cuts, and a saw with a fine tooth blade or reverse‑tooth saw for crosscuts. When cutting around windows or doors, leave a proper gap (¼”) at the cut edge. Use utility trim or vinyl soffit pieces to cover raw cut edges. Never cut so precisely that there’s zero movement space.
For the top piece, use a snap lock punch to perforate locking tabs along its lower edge so it can pivot and snap into undersill trim or the j channel above. Make sure it is not forced. Check that every row is secure, level, and able to move slightly. Trim loose lengths, and inspect for proper alignment.

If your house is multi‑story, has complex angles, or you want the warranty to be valid, hiring a professional contractor is often the better option. Certified installers understand new construction constraints, manage insulation, and are adept with tricky areas like corners, windows, doors, and soffit transitions. They ensure every panel is installed correctly according to manufacturer’s instructions and local building codes.
At Pro Superior Construction, our team brings years of experience in vinyl siding installation, and we guarantee workmanship with warranty protection.
Professional installation brings:
You avoid the fear of warping, water damage, and voided warranties.
You can do it yourself with patience, the right tools, and good guidance. But for complex walls or to preserve warranty, hiring a pro is a safer choice.
Typically ¼” at ends and trim. In cold weather, use 3⁄8″. Always follow manufacturer’s instructions.
Use roofing nails or corrosion‑resistant screws long enough to penetrate substrate securely. Always place in center of slots, not too tight.
It’s sometimes possible, but often better to remove old siding so you can inspect, flatten the wall with furring strips, and install the best insulation underneath.
A continuous WRB (house wrap), flashing, and proper trim. Siding itself is not waterproof, these layers protect your house structure.
Depends on size and prep. For a typical single‑story house, pros may finish in 3 to 5 days. DIY might take longer.
Knowing how to hang vinyl siding properly isn’t just about getting a good looking finish, it’s about protecting your home, preserving warranties, and ensuring durability. While homeowners with patience can install siding over simple walls, conditions like multiple rooflines, corners, or complex openings often favor hiring experienced professionals.
At Pro Superior Construction, we apply certified craftsmanship to every job, from starter strip through the upper portion, and follow manufacturer’s instructions and local building codes every step of the way. Ready to upgrade your siding or get a free estimate? Contact us today and let us handle your siding with precision and care.