How to Replace Vinyl Win...
- Mon to Fri: 09:00 am to 07:00 pm
Wood rot around a bay window is a common problem that many homeowners discover too late. Moisture damage, gaps in sealing, and leaking joints allow water to invade the wood structure and over time lead to rotted wood, rotten wood, or severe rot. In this in‑depth guide, we’ll walk through how to repair bay window wood rot, step by step, so you can decide whether DIY is feasible or when to call professional help.

Wood rot does not appear overnight. Before you begin repairs, it’s crucial to understand how rot starts and what drives it forward, especially around window units like a bay window.
Exposed edges, failed caulk, blocked drainage, or improper flashing let moisture seep into wood trim or framing. Over time, that moisture feeds fungi and causes decay. That moisture damage is often the root of the rot you see. If gaps or cracks are present, water will travel along the wood behind trim or siding and accelerate the damage.
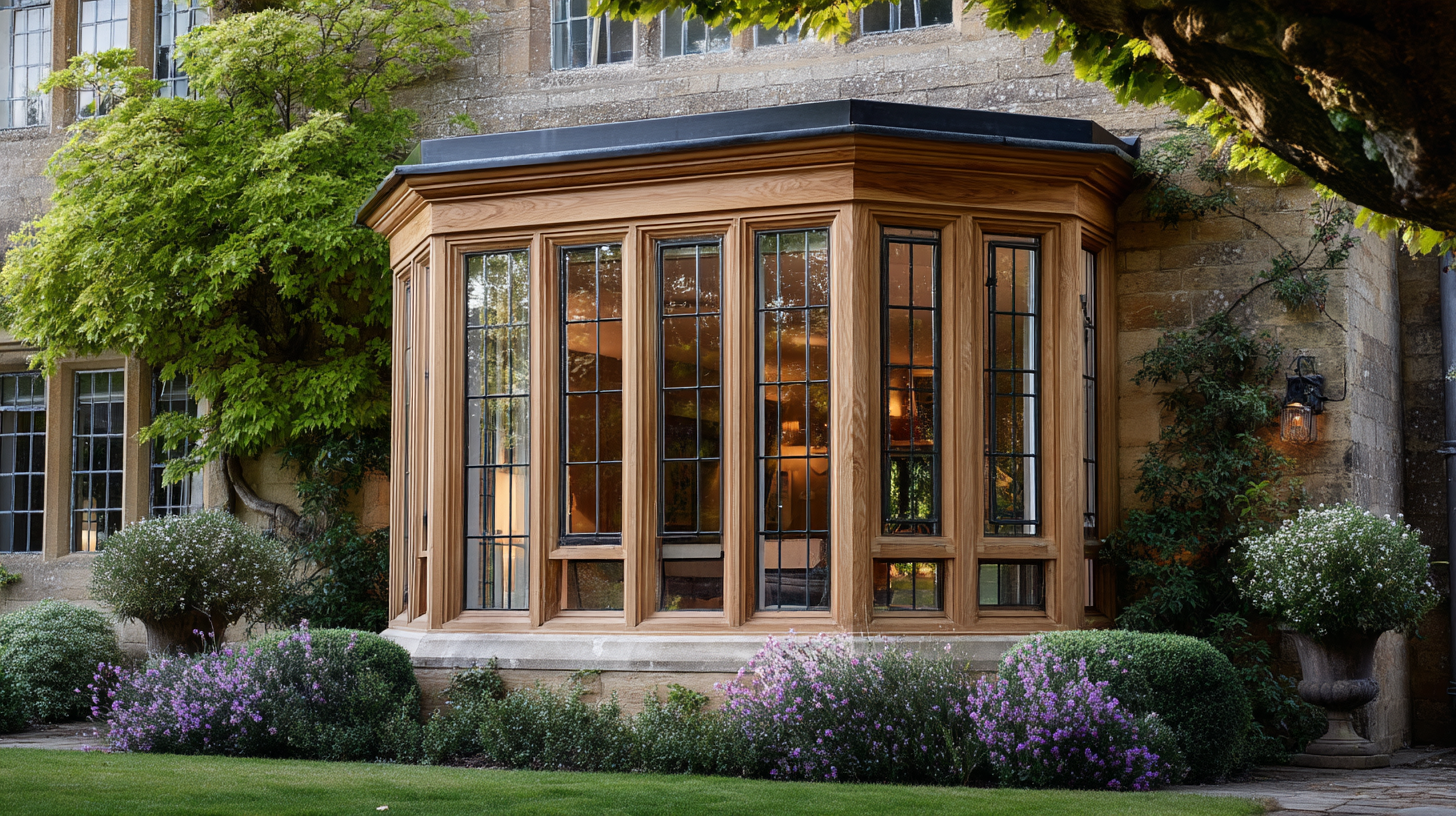
A bay window projects outward, which means more edges, corners, and joins exposed to weather. The roof above the bay, as well as the base shelf, can channel water if not properly shielded. Also, the added seams and the multiple surfaces make it more likely that gaps or flashing errors exist. That complexity means even minor defects can lead to rot.
Movement from house settling or expansion/contraction can open tiny cracks at joints. Over years, those cracks allow water in. Also, if the bay window was originally built with untreated or inferior lumber, decay is more likely.
Before you jump into repairing wood rot, let’s talk about how to detect it. Early identification can save you months of extra damage.
Use a putty knife or screwdriver to press along suspect areas. If the wood gives easily, crumbles, or reveals soft texture rather than firm solid wood, it’s a strong sign of rot.
Tap along the surface, hollow sounds suggest internal decay.
Check inside the wall adjacent to the window. Water stains, mold growth, or damp drywall may hint the rot has spread further than the exterior trim. The interior sill or framing may show swelling or dampness.
When you’ve noticed these signs, you should map out the extent before choosing a repair method.
Not all rot requires a full rebuild. The trick is assessing how bad it is.
If more than about 10–20% of a member is compromised, or you see soft framing, you should lean toward replacement or major structural repair.

Below is the process for repairing rot from mild to severe, blending patch, partial replacement, and full rebuild methods.
Start by removing trim, fascia, or siding around the bay to expose the window unit edges and the plywood base or shelf. Inspect for hidden damage. Use a cut tool, chisel, oscillating tool, or saw, to remove all decayed sections. Do not leave any soft or crumbly wood behind. Always cut back to sound wood. Be sure to check the vinyl wrapping or cladding as well, since failure of this protective layer can allow moisture to penetrate and create rot underneath.
Once rot is removed, apply a wood hardener or consolidant to any areas that are slightly compromised but salvageable. That strengthens the wood fibers. Allow full cure before continuing.
For light decay in trim or small defective sections:
This is ideal when the rot is shallow and limited.
When rot is deeper but not structural:
You can choose rot-resistant options like PVC, vinyl, or composite trim to protect against future rot and create a durable finish.
If the severe rot has compromised framing or structural supports:
This gives you a clean slate and the strongest long-term result.
Once the repair or replacement is complete:

Sometimes a repair goes beyond what DIY should attempt. You should consider hiring a pro when:
A contractor like Pro Superior Construction can manage full installation of replacement window units, trim, flashing, and durable finishing, giving you the perfect solution with less risk.

A repaired bay window is only as good as your maintenance. Here are steps to avoid returning problems.
Check all trim, joints, caulk, and flashing every year. Look for peeling paint, cracks in caulk, or blocked drainage lines. Repaint exposed wood every 3–5 years.
Upgrade from plain wood to PVC, vinyl, or composite trim, rot-resistant lumber, or fiber‑cement siding for adjacent walls. Those materials resist moisture and reduce long-term risk.
Make sure gutters, downspouts, and roof lines above the bay window divert water away. Use drip edges, diverters, and correct flashing so water never collects near trim edges.
Excess humidity inside the house can drive condensation and internal water migration. Use exhaust fans, dehumidifiers, and proper vapor barriers to keep interior surfaces dry.
Watch for any gaps, cracks, or loose trim, especially around corners and edges. Recaulk or re‑seal at the first sign.
Yes. If rot is limited to trim, sills, or localized boards, you can repair using the methods above. But when framing is affected, full replacement may be necessary.
Cost varies notably depending on size and extent of damage. A small trim patch might cost $200–$500, while severe rot or full replacement can run $1,500–$5,000 or more, depending on materials, labor, and region.
High‑quality two‑part epoxy fillers are industry standard. They bond well and resist shrinkage. Use a putty knife to shape them.
Usually not. Most insurance policies treat wood rot or gradual moisture damage as maintenance issues, not covered perils. Always review your specific policy.
With a thorough job, proper materials, and regular maintenance, a good repair can last 10–20 years or more, especially if you upgrade to rot‑resistant materials and protect from further water damage.
Wood rot around a bay window is far from hopeless, but it can escalate quickly if ignored. Whether you tackle a small patch or opt for a full rebuild, doing the job correctly matters. Cutting corners invites repeat problems.
At Pro Superior Construction, we specialize in diagnosing and repairing bay window damage, from trim repairs to full window unit replacement. Our team ensures proper flashing, sealing, and material choices so you avoid costly callbacks down the line.
If you’re worried about the extent of rot you’ve discovered, hesitant to begin a complex project, or want a durable, long‑lasting outcome, don’t hesitate. Let us provide you with a professional evaluation and perfect solution.
Contact Pro Superior Construction today and schedule your free inspection. Let us restore your bay window’s beauty, stability, and protection against future rot.