How to Install Vinyl Win...
- Mon to Fri: 09:00 am to 07:00 pm
Replacing windows is one of the smartest home improvements a homeowner can make right now, especially when you learn how to replace vinyl windows like a pro, while keeping things energy efficient, affordable, and built to last. At Pro Superior Construction we know that whether you’re considering diy vinyl window installation or professional installation, our goal is to help you feel confident in every step of the project, from selecting vinyl replacement windows to installing replacement windows and finishing the interior trim, outdoor siding, and trim around the window. Let’s walk through how to replace vinyl windows in plain‑spoken, homeowner‑friendly terms.

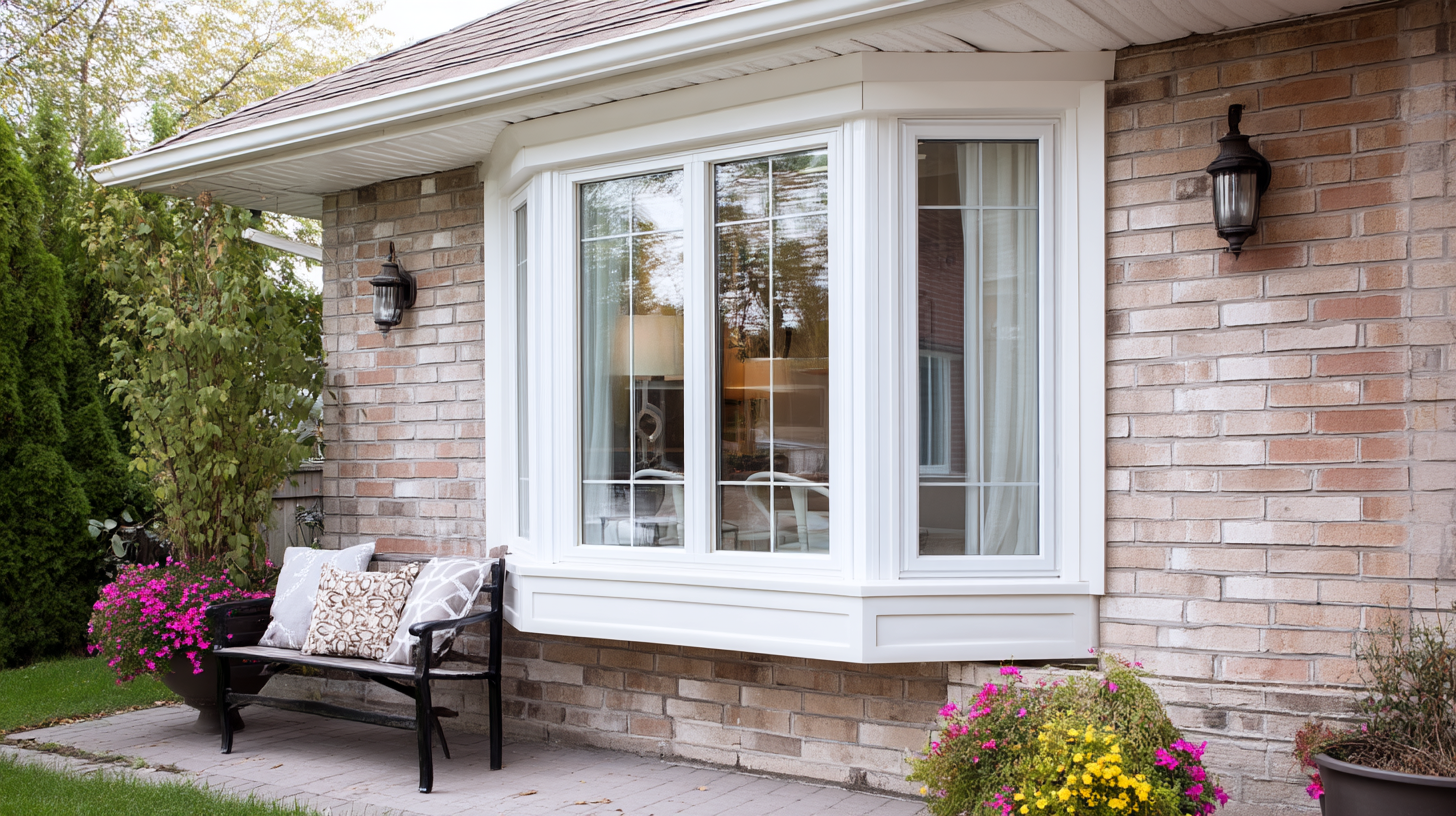
Vinyl windows rank among the most popular options for replacing existing windows, especially for folks navigating retrofit window versus new construction windows choices. Their vinyl frames offer low maintenance and impressive durability. Modern vinyl replacement windows deliver energy efficiency that helps lower utility bills and improve comfort inside your house. Homeowners often choose to replace old windows with vinyl window replacements for their cost effectiveness and resistance to moisture and rot.
Full frame installation replaces the entire window frame and often the surrounding siding, ideal for those with damaged or deteriorated frames. Sometimes, you may need to remove the vinyl window completely, especially when frames are rotten or severely damaged. Retrofit window installation, which fits the new window into the existing frame, is a faster and more budget‑friendly option when the existing window frames are in sound condition. Whichever path you take, energy efficient, vinyl replacement windows are a wise upgrade.
Before you start replacing windows you’ll want to gather the right tools and materials so the window installation project runs smoothly and yields reliable results:
Tools:
Materials:
These will give you everything you need for a complete, energy‑efficient window replacement, whether it’s a retrofit or a full frame installation.

Always begin with accurate measurements. Use your tape measure to check the width and height of the window opening at three points (top, middle, bottom and left, center, right for height) and take the smallest measurements. This ensures the window fits without needing extensive modification of the window frame or rough opening.
First remove interior stops or trim carefully. Use a utility knife along edges to break the caulking, then pry bars gently separate the panels. Remove sash or weight pockets if present. When doing a full window frame removal, carefully remove exterior stops and siding as needed. In some cases, you may need to remove the vinyl window completely to ensure a proper fit for new construction windows. Keep pieces intact to reinstall if possible.
Once the old window is out, clean the window opening thoroughly. Use a shop vacuum to remove debris. Check the existing window frames and rough opening for rot or damage, and repair as needed. Install flashing tape across the sill and up the jambs for a waterproof barrier.
Place the new window into the window opening, leaving a small gap around the window frame. Use shims to adjust until the window is level, plumb, and square. A small gap ensures that the window fits without forcing or warping the frame.
Once aligned, secure the new window with mounting screws through the pre‑drilled screw holes in the frame or through flange for new construction windows. Drill pilot holes if needed for stability. Avoid overtightening to prevent distorting the frame.
Apply a continuous bead of caulk around the perimeter where the frame meets the wall or flashing. Fill gaps behind the frame with low‑expansion foam or backer rod to enhance energy efficiency and seal against air and moisture.
Reinstall or install new exterior stops or trim around the window. Caulk around trim edges to seal. On the interior reinstall interior trim and parting stop and use caulk to finish seams for a polished look. If desired, paint the trim and surrounding areas to match your home’s style for a fresh, finished appearance. Consider coordinating the paint color with doors and other exterior elements for cohesive curb appeal.
Open and close the sashes to confirm smooth operation. Check that the window fits square and operates easily. Trim off any shim overhang, clean up excess caulk, and enjoy the refreshed aesthetic of your new replacement windows.

Retrofit is ideal when the existing frame is in good condition. This method allows installation of vinyl replacement windows into the existing window frame, preserving siding and minimizing disruption. It is often chosen by homeowners pursuing diy vinyl window installation.
Full frame replacement removes the entire old window, existing frame, sill, and interior and exterior stops. This is recommended when existing window frames are deteriorated, or when improving energy efficient performance requires newer, tighter building envelopes. This method involves removing the vinyl window completely and sometimes coordinating with new siding or door installations for a seamless look.
Vinyl window replacements are known for their energy efficiency, low maintenance, resistance to moisture, and durability, especially compared to wood or aluminum frames. The multi‑chamber designs and low U-factors in modern vinyl replacement windows keep homes comfortable and reduce energy bills.
While other materials like wood add classic aesthetics, they come with higher cost and upkeep. Aluminum often isn’t as energy efficient. Vinyl offers excellent value, durability, and performance in one package.
A typical professional installation of a single vinyl window ranges from $300 to $800, with an average of around $600. Labor and complexity can affect pricing, especially with full frame replacements, custom sizes, or high-energy options.
When it comes to installation time, professionals can often complete a retrofit in 30 to 45 minutes per window. Full window replacements, especially in older homes or multiple windows, may take one to two hours per window or longer depending on complexity.

DIY may save on labor, and is feasible if you have the right tools, skills, and the existing window frames are in good shape. Retrofit installation can be especially DIY-friendly. But bear in mind risks of improper seal, damage, or voided warranties.
Pro installation ensures proper leveling, sealing, moisture control, efficiency, and warranty compliance. Professionals often work faster and can handle complex situations like new siding, full frame replacement, or custom vinyl windows. They can also coordinate painting and door adjustments to match your new windows for a polished finish.
Yes, but only if you’re confident measuring accurately, leveling, sealing, and using the right tools. For best results, especially with full frame installations, hiring a professional is wise.
Retrofit windows can be replaced in under an hour each. Full frame installations may take one to two hours per window depending on complexity and site conditions.
Yes, vinyl replacement windows with tight seals, low‑E glass, and proper installation significantly reduce drafts, heating and cooling loss.
Retrofit windows are installed into the existing frame. New construction windows are installed in rough openings in new framing, common in new builds or full replacement jobs.
This guide on how to replace vinyl windows covers every crucial step, from measuring and removing old windows, to prepping, installing, sealing, and finishing with trim. Whether you’re exploring diy vinyl window installation or planning on professional installation, the key is careful planning, quality materials, and attention to energy efficiency.
At Pro Superior Construction we specialize in professional window replacement tailored to the needs of homeowners in Northern California. With certified installers, transparent pricing, and a focus on durable, energy efficient, vinyl replacement windows, we deliver lasting value and home comfort.
Ready to upgrade to energy efficient, low maintenance, beautiful new vinyl windows? Reach out today for a free consultation and estimate.