What Is Composite Siding...
- Mon to Fri: 09:00 am to 07:00 pm
Key Takeaway
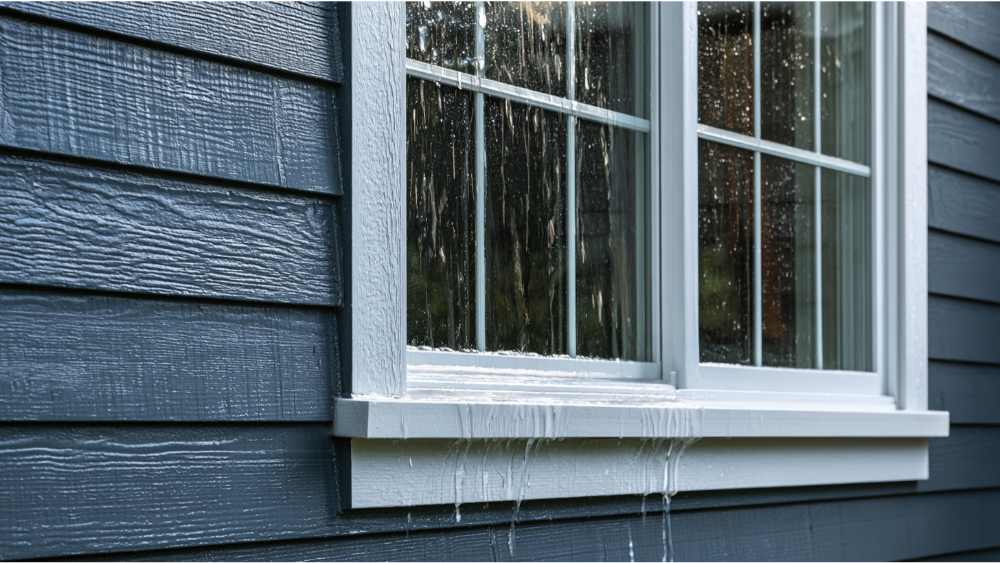
A leaking window most often traces back to failed perimeter caulk, blocked weep holes, worn weatherstripping, or missing flashing – not always the window itself. Water can enter through damaged siding or roofing above and travel down framing before appearing at the window frame. Dry wet materials within 24 to 48 hours to prevent mold, and identify which of the four leak types you have before starting any repair.
A leaking window usually traces back to failed sealant, blocked weep holes, worn weatherstripping, failed glazing, or missing flashing. Water can also come from a roof leak or damaged siding above and only become visible at the window. Indoor condensation looks like a leak too, so diagnosis comes before repair.
If you’re wondering whether this is a caulk job, a flashing problem, or a replacement, work through the sequence below. The spot where water enters is rarely the spot where it shows.
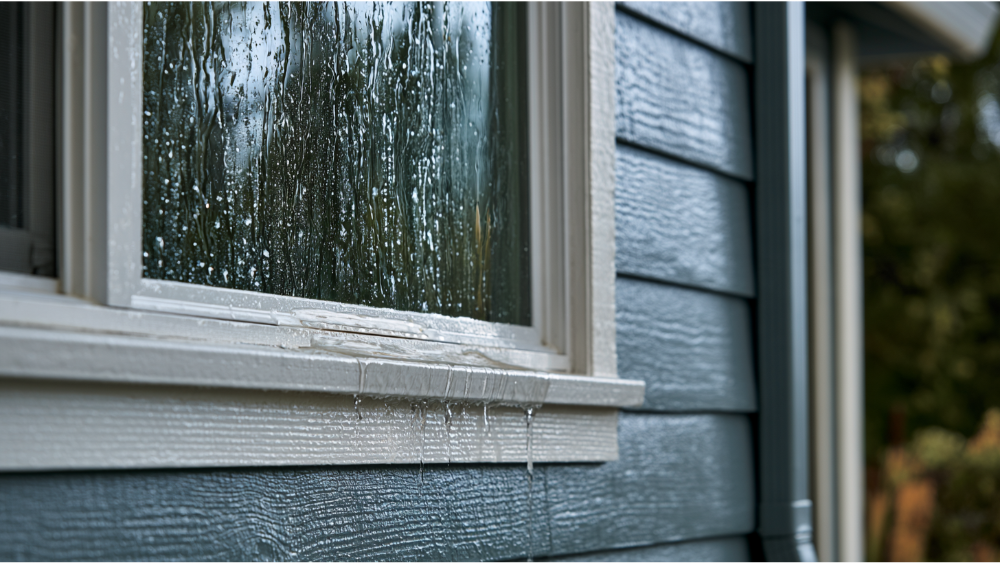
The EPA considers a moldy patch under roughly 10 square feet manageable for a homeowner following its precautions. Larger areas warrant professional guidance.
Four different problems get called leaky windows, and each has its own fix. Find yours before you buy anything.
| What you see | Most likely category | What it usually means | Next check |
|---|---|---|---|
| Water at the frame, trim, or sill during rain | Exterior water intrusion | Sealant, drainage, flashing, or a defect above | Note the exact spot and wind direction |
| Moisture on the room-side glass | Interior condensation | Indoor humidity meeting a cold surface | EPA suggests humidity below 60%, ideally 30 to 50% |
| Fog between the glass panes | Failed window seals | A problem in the sealed unit, not the wall | Check the glass or window warranty |
| Cold air at the window edges, no visible water | Air leakage | Worn weatherstripping or an unsealed gap | Confirm the sash closes and locks fully |
One point trips people up: a window’s air-leakage rating (commonly 0.3 cfm/ft² or lower, per ENERGY STAR and NFRC) measures air movement through the product. It says nothing about whether the installed window was flashed correctly.
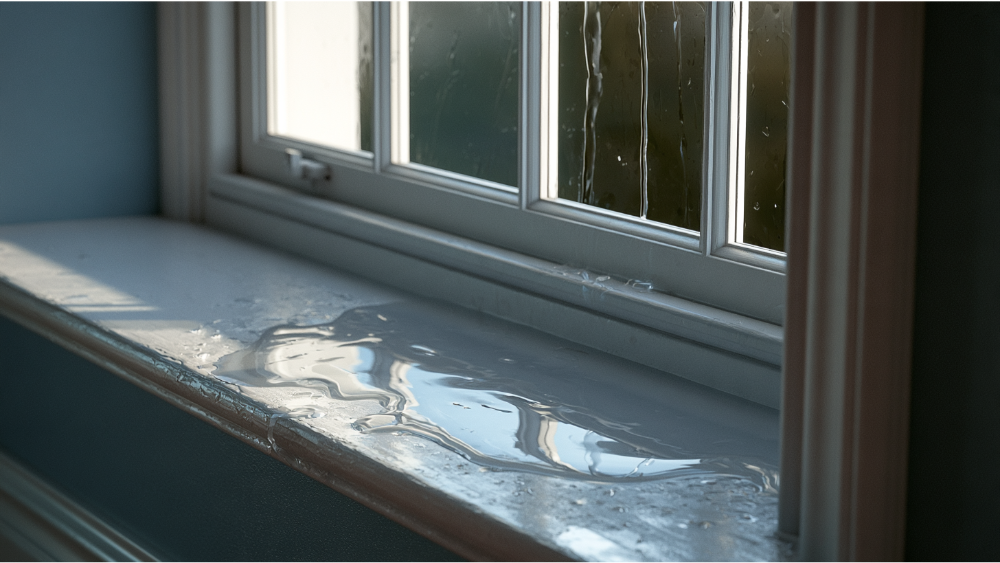
Water travels behind cladding, so the drip can appear feet from where it entered.
Most window leaks trace back to the common causes below, and the first two are the common culprits in most cases.
Heavy, wind-driven rain can overwhelm even a newer window when drainage is blocked or flashing was never lapped correctly.

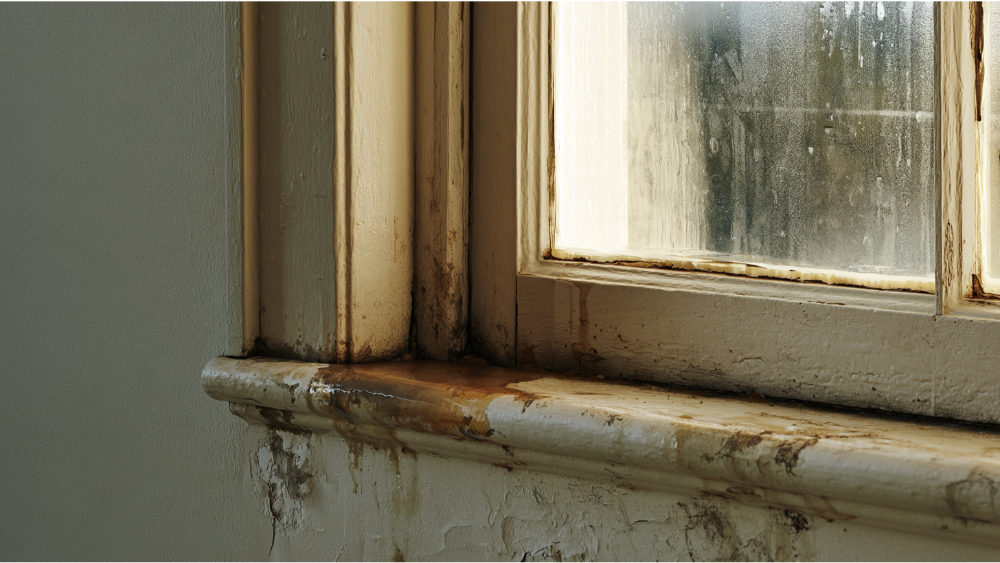
Several of these signs together mean water has been getting in for a while, and acting then keeps a simple fix from becoming costly repairs.
If you try a hose test, use a gentle water flow, never a pressure washer. Start low, work upward one area at a time, and stop the moment water appears. FGIA warns that high-pressure water can force its way through a window and create a leak that wasn’t there.

Caulk genuinely solves a localized, accessible perimeter joint. Cut the old bead out, scrape the joint clean with a putty knife, let the surface dry, and use an exterior-grade product compatible with the window and the cladding, such as a silicone caulk suited to those materials. The manufacturer’s instructions decide the right choice.
Every window is a hole cut into the wall’s drainage plane. Flashing manages that hole as a drainage system, not a surface seal. DOE Building America describes the layered sequence:
Current model-code guidance (2024 IRC R703.4.1) calls for window flashing to drain to the exterior finish or water-resistive barrier, with pan flashing at the sill when no manufacturer details exist. Adopted editions vary by jurisdiction.
A durable repair follows the path the water is taking, not just where the drip appears. Sometimes that means pulling trim or siding to see the rough opening. Because we install windows and siding both, we look at the two together. Pro Superior Construction is family owned, fully licensed and insured, CSLB #986607, and a James Hardie Certified installer.
A new window alone will not fix a roof, siding, or wall-flashing problem, and insert-style replacements that keep the old frame can leave the original defect untouched. Whether the replacement is vinyl, wood, or fiberglass, the flashing behind it decides how long the repair lasts.
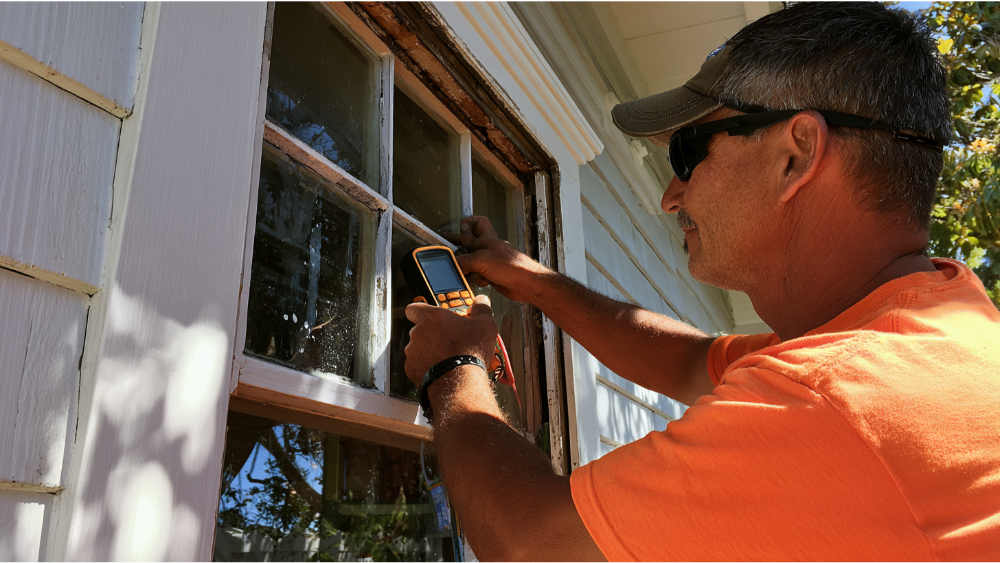
The process is methodical, built to determine where water actually enters:
The outcome should be a written scope separating window repair, flashing repair, and replacement, so you know what you’re paying for.
Federal EPA Renovation, Repair and Painting rules generally apply to paid work that disturbs painted surfaces in older housing, and window replacement is covered regardless of the usual minor-repair thresholds. Confirm lead-safe practices before any painted trim is disturbed.
How can I stop my windows from leaking?
Identify which of the four leak types you have, then keep weep holes and tracks clear, maintain sealant and weatherstripping, and correct siding and flashing defects before they soak the wall.
Does homeowners insurance cover water damage from leaky windows?
Policies vary. Sudden and accidental damage is treated differently from long-term seepage. Document the leak with photos and dates, then ask your carrier directly.
Who do you call if your window is leaking?
A licensed window and siding contractor who inspects the surrounding wall, not just the glass. Cost depends entirely on whether the failure is sealant, flashing, or the window itself.
Our family-owned team has installed and replaced windows and siding since 2013, and because we do both, we look at the window and the surrounding wall of your house together. A contractor will inspect your home and tell you honestly whether the answer is a targeted repair or a replacement.
Contact us today for a free estimate through our online form, or call us now at (916) 474-4483.
